Archives
Author Archive
September 22, 2010
Archiving for Our Times: A Year as a Digital Intern
In September of 2009, I was in my final year as an undergraduate student of English and beginning a digital internship with EMiC. Being a part of EMiC was at first a bit unnerving, and I sometimes felt like a lamb in a den of lions. My task was to scan the many collections of Dorothy Livesay’s poems, and later I had to seek out and scan individual poems as first published in journals and magazines. As I meekly turned pages and fiddled with focus knobs, I dared not devour her works, but instead handled them carefully and reverentially, grazing library shelves for the next poem. The hours in the scanning room provided tedium like a short fast, starving and renewing the system, and the materiality of each text was fascinating, as we encountered errors in page numbering and other quirks. I had had a formal introduction to Livesay’s work in a seminar class during which I was very interested in her politics, but it was while touching the books, reading them and contemplating them on my own, that I gradually got to know her as a woman and as a poet. I absorbed much when, unable to help myself, I quickly read each poem as it was laid out under the lens, or when I paused to read a stanza while editing, and I got a better feel for her recurring images and themes, for the absolute beauty of her words. While I learned much about scanning and editing, it was this availability of Livesay’s body of works that was the truly valuable education to me.
Nevertheless, I felt like a real digital intern as I learned the value of Photoshop in the task of presenting Livesay’s work to a digital audience. I found myself contemplating how to satisfactorily record the material and artistic history of an era of terrifying newness when the pieces of this time have become battered and bent, musty and old, and the scanner we use is finicky and seems itself to be caught in some mechanical process of decay. The technology of our times and the act of digitizing can help recover the sense of newness that inspired and pushed poets like Dorothy Livesay to write, but it takes a bit of doing. The problem in Photoshop became less about how simply to straighten an image, and more about how much of the image can be recreated to look more like reality than the scanner made possible. As it happens, book scans often turn out like this, where it had been impossible to flatten the page without damaging the book:
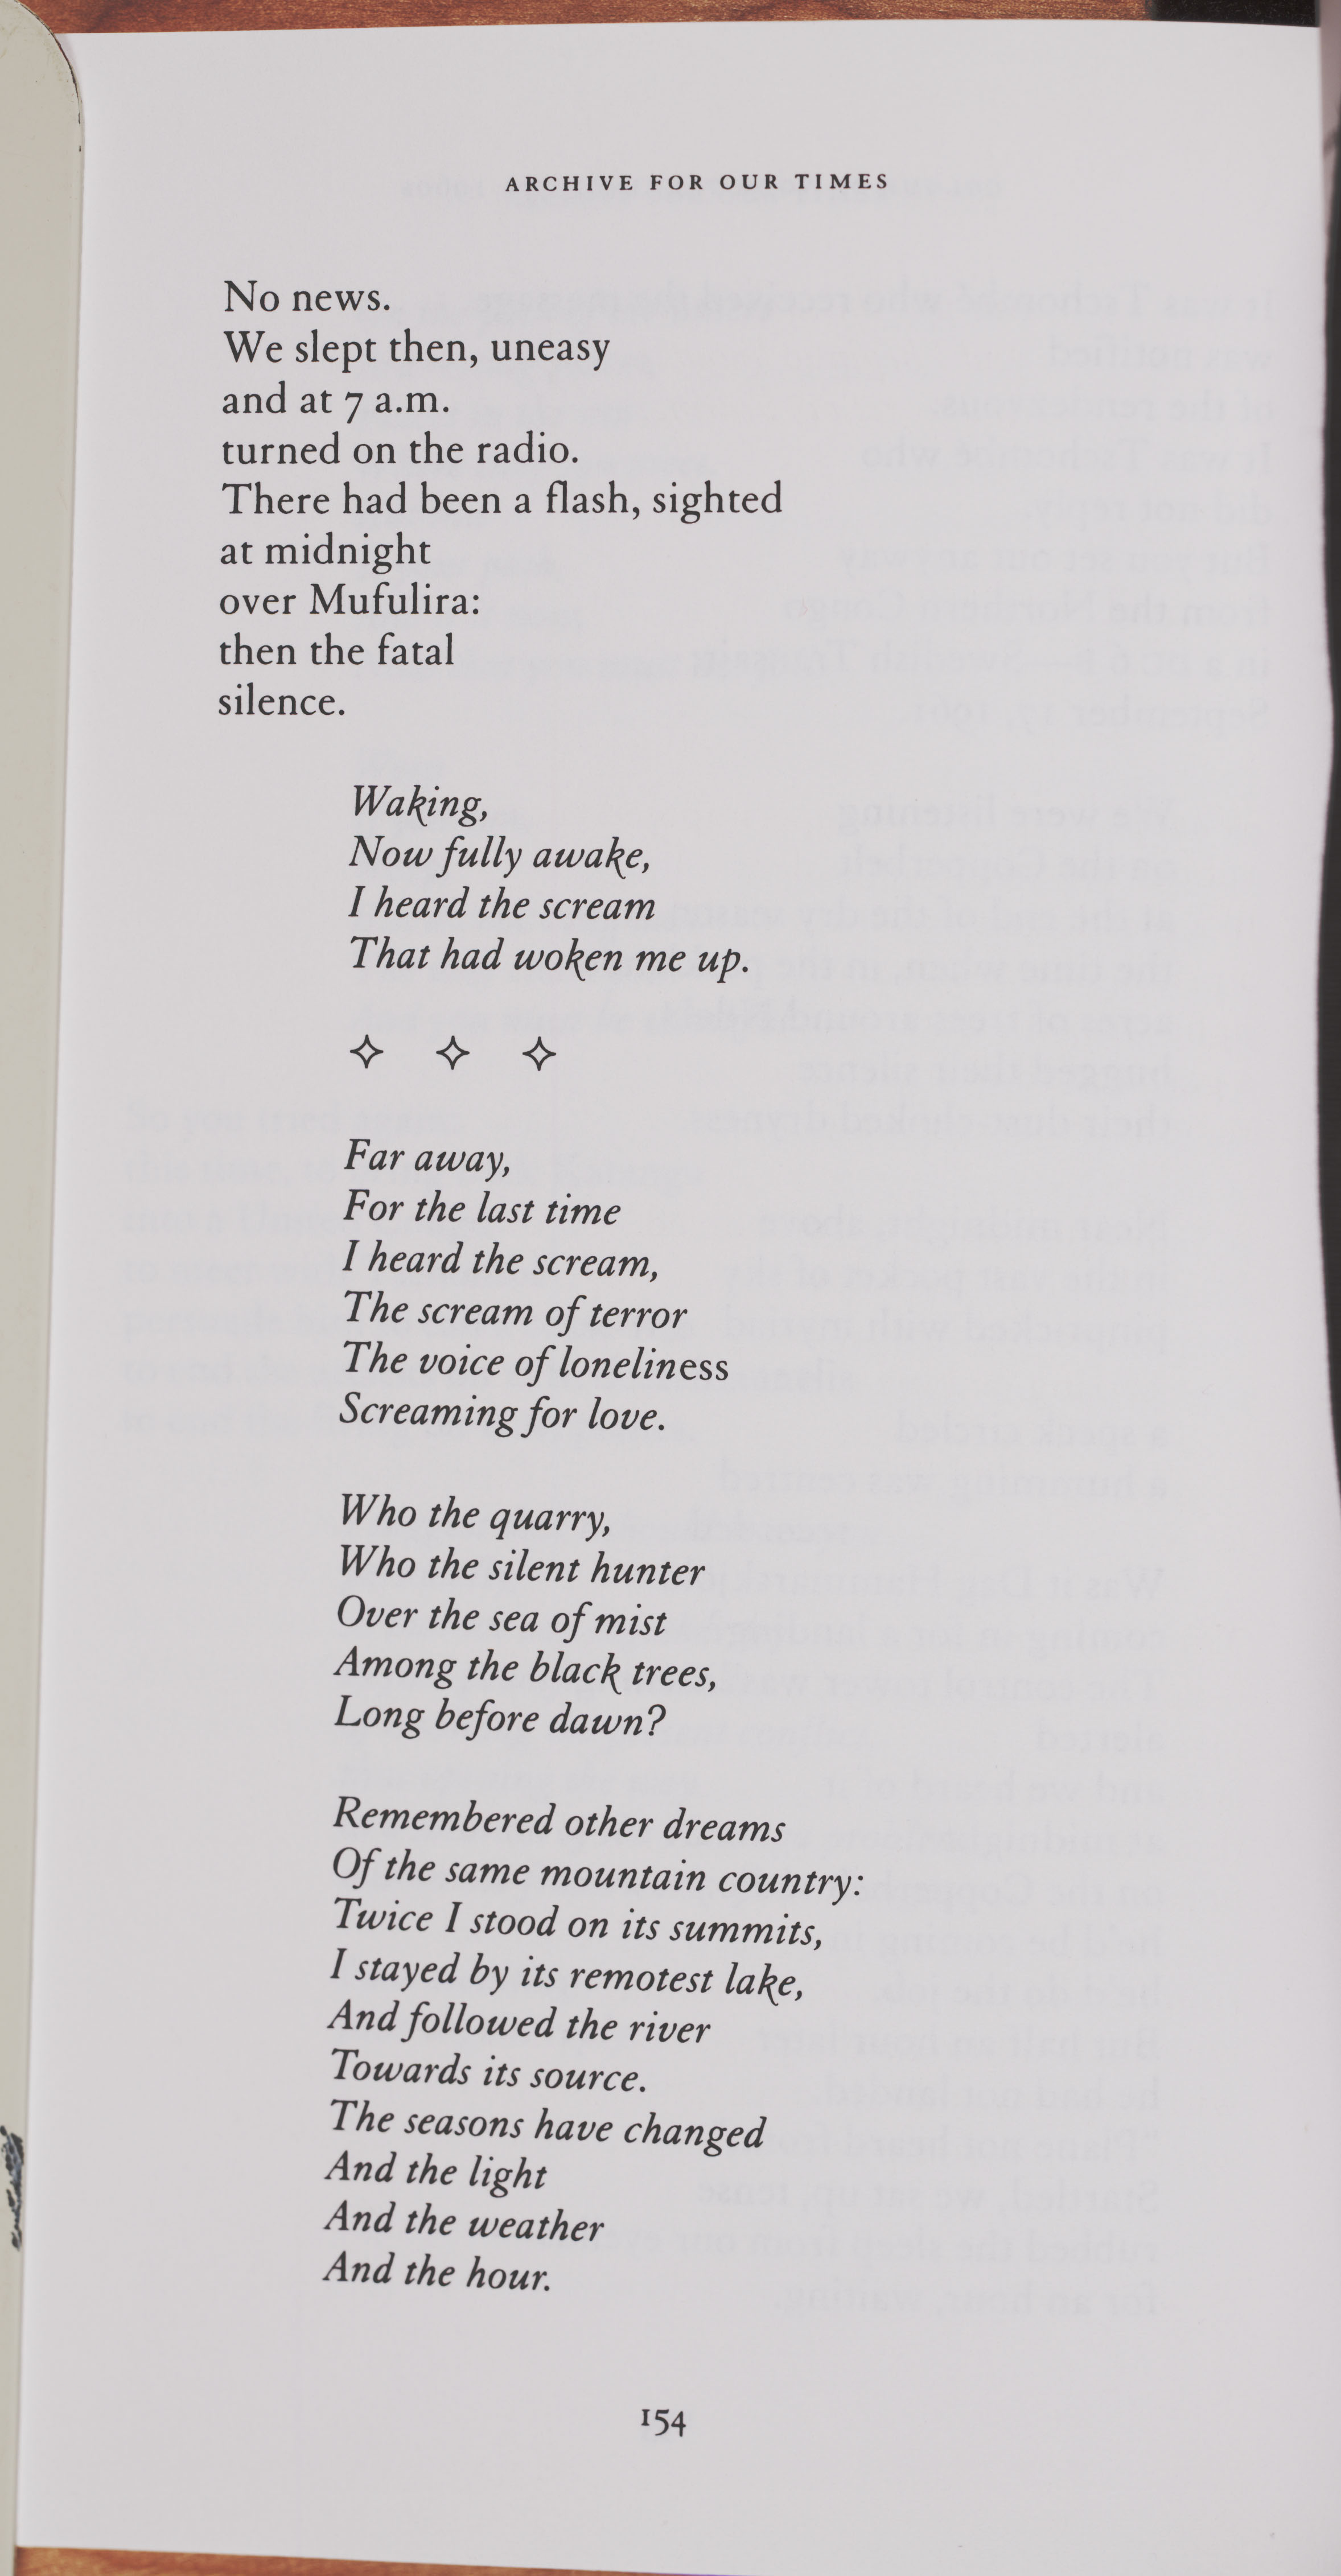
(Poem: “The Hammer and the Shield”)
You thus learn as you go, resolving issues and learning how to fill in the gaps between image-as-it-is and image-as-it-should-be. The following provides a number of tools in Photoshop that can be used for editing scanned book pages like the one above. I hope it proves useful.
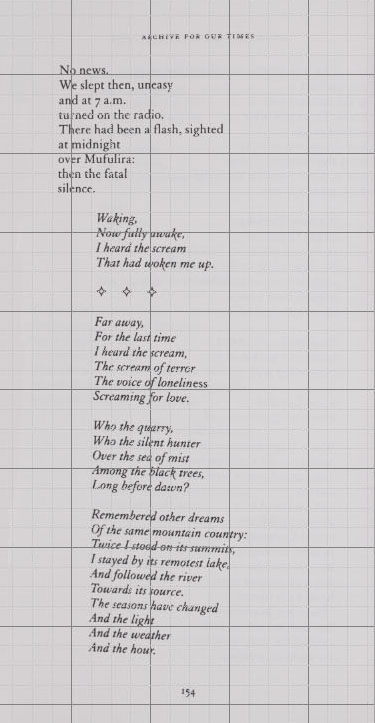
Before editing anything, hit Save As and change the file name to indicate that it is an edited file (this way you never accidentally lose the original scan). Then straighten the image so that most of the text is straight (Image: Image Rotation: Arbitrary: 0.25% is very useful here). Grid lines also help you get the straightening exact (View: Show: Grid). Then crop the image and fill in the edges using the Brush tool (use the Eyedropper tool to pick up the background colour first); both tools are in the Tools area on the left. You should by then have something like this (showing grid lines).
The crooked text needs to be rotated separately from the rest of the image. To do this, 1) use the Marquee tool or the Lasso tool to get around the text or between the lines (both tools are in Tools on the left). 2) When you have the portion of text that needs to be rotated, right-click and hit “Layer via Copy.” This copies the selected portion of the image into a layer, which is a piece of image that can be fiddled with separately from the background image or other layers. (Ensure, especially when you’ve created several layers, that the Background layer is selected when you click “Layer via Copy.”)

(A demonstration of the Lasso tool in action; so useful when the project requires a fussy amount of detail)
3) Go to Edit: Transform: Rotate, and mouse over the corner of the text until you see a curvy arrow. Click, hold, and move the mouse to rotate the text until it is straight. At this stage you can also use the arrow keys on your keyboard to move the layer slightly in different directions to line it up properly.
When happy with the image, go to Layer: Flatten Image. (You may want to do this periodically if you find yourself creating many layers, especially for an image like the one above). This lessens the file size considerably, and the file size is already going to be ginormous. At this point, change the image size to whatever is needed. Then check the extension on the file name at the top (to make sure you did a Save As at the beginning of your work on this page) before hitting Save. Hopefully you will get something like this (or better):
